Well I decided before I can actually selll my items on the net I wanted to have a label to make it look a bit more professional. So then I had to work out how to do this. So of course Googled this as you do whenever you want to know anything. I came across
Allyson Hill who had some great ideas on how to do this. The one I chose to follow to do my labels was
Fresh Vintage.
1. First I went down to K-Mart to see if they had some Iron-on Tranfer Printing paper. I bought OfficeOne White T-Shirt Transfer 3 pack for about $12. I was happy with the price cause I wanted to make sure it worked and didn't want to spend a fortune in doing so.
2.Then I had to design what I wanted to go on the label. This is what I came up with.
3. Then I had to work out how to reverse the image. I created this in Microsoft Word. Doing it this way though you can't reverse the image. So then I had to Google how you would do this. What was suggested was you press your PrintScreen Button.
4. Go into Accessories and to the Paint program. Then you press Ctrl V which will past the document you had been working on like this:
5. Then go up into the left hand top corner and press the square button which will allow you to crop your work and select what you want to use on the page.
6. Then select what you want to use.
7. Then right click on the selected image and press copy.
8. Then go into File option up the top left hand side and press New.
9. You will then be asked if you want to save what you have done. Save it as something you will remember what you were working on. Then on the new document press Crtl V.
10. Then go up to the Image Tab and go press the flip and rotate option.
11. Then you will asked whether you want to flip it horizontally and you press ok.
12. Ta da!!!. You have reversed your image.
13. Now save your file. Then I went into my saved pictures. Press on the saved file to view it through Windows Live Photo Gallery.
14. Now I can crop the image to what I want. Click on the Fix button at the top of the screen and you will then get a drop down menu which will allow you to press crop.
15. Now that you have you reversed image you press on Ctrl C to copy the image. Open up Microsoft word again.
16. Now reduce the size of the image so that you can fit 3 across the page.
17. Now you can go through and continue to do this all the way down the page.
18. Now your ready to put your Iron-on Transfer paper in the printer. Follow the instructions it should come with.
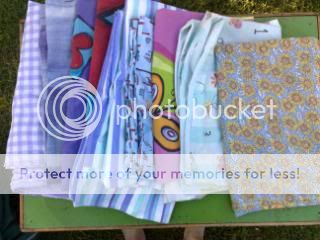
19. I then started to cut the labels into individual squares.
20. But then realised that it would make more sense to iron on the whole transfer first and then cut out the material.
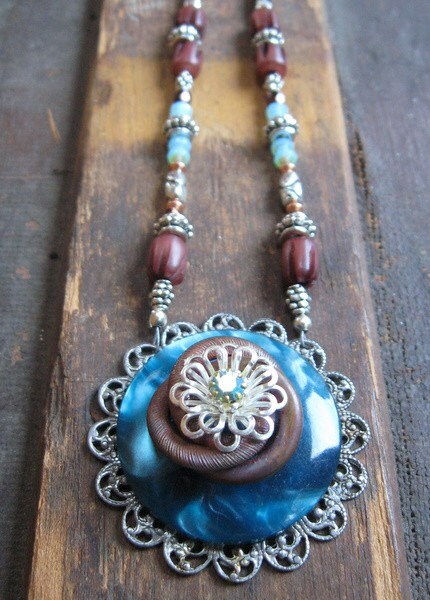
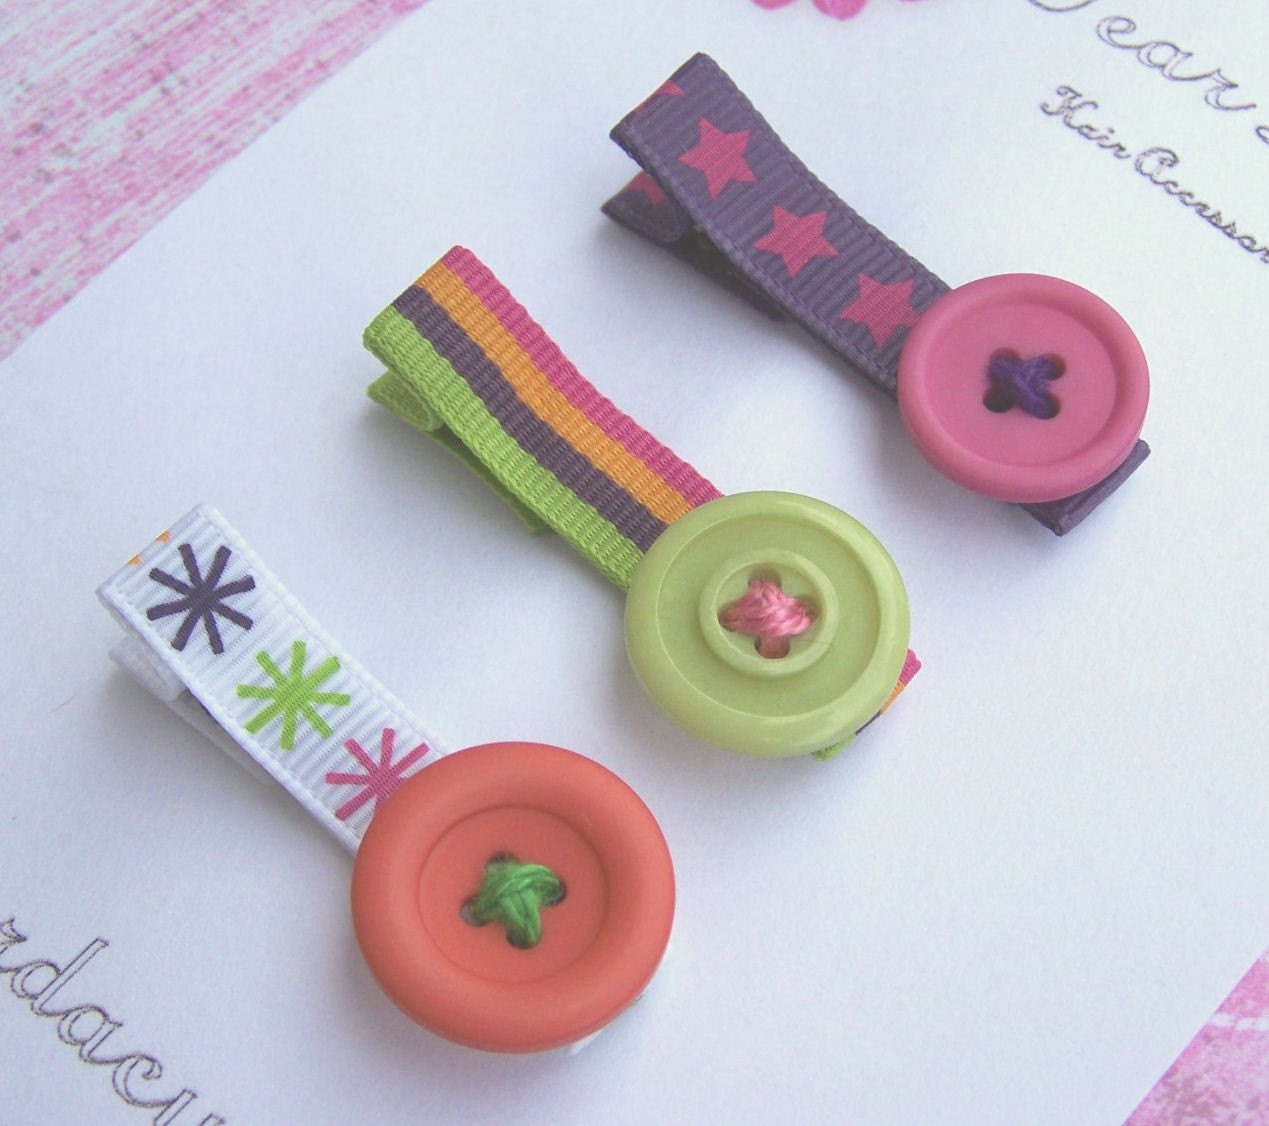
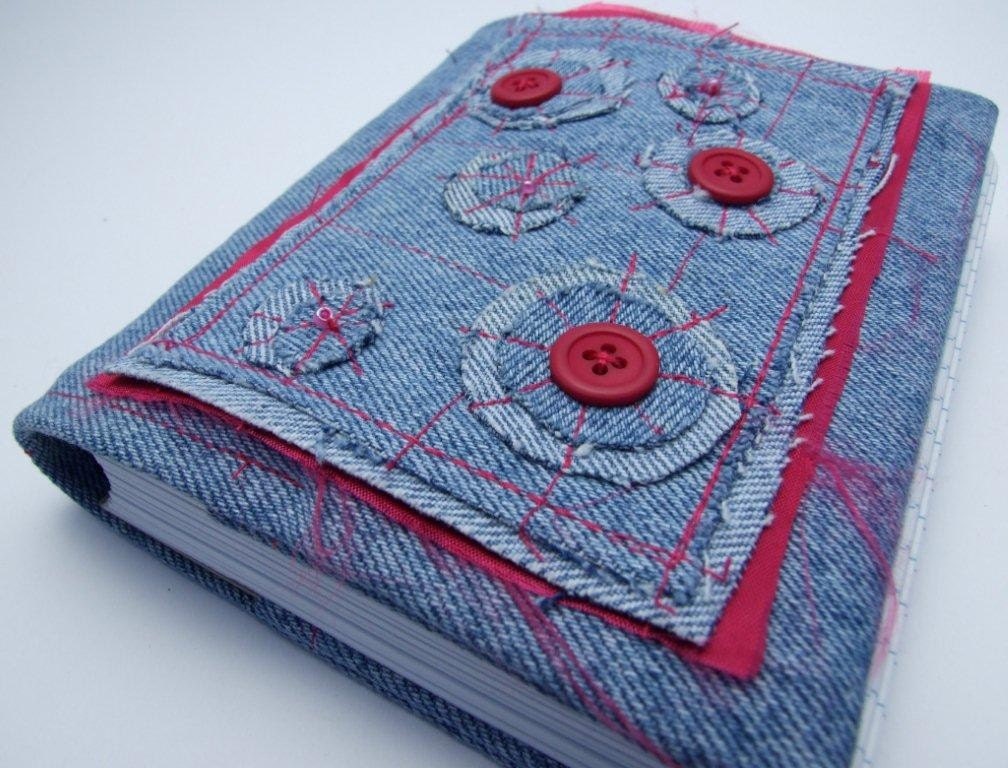
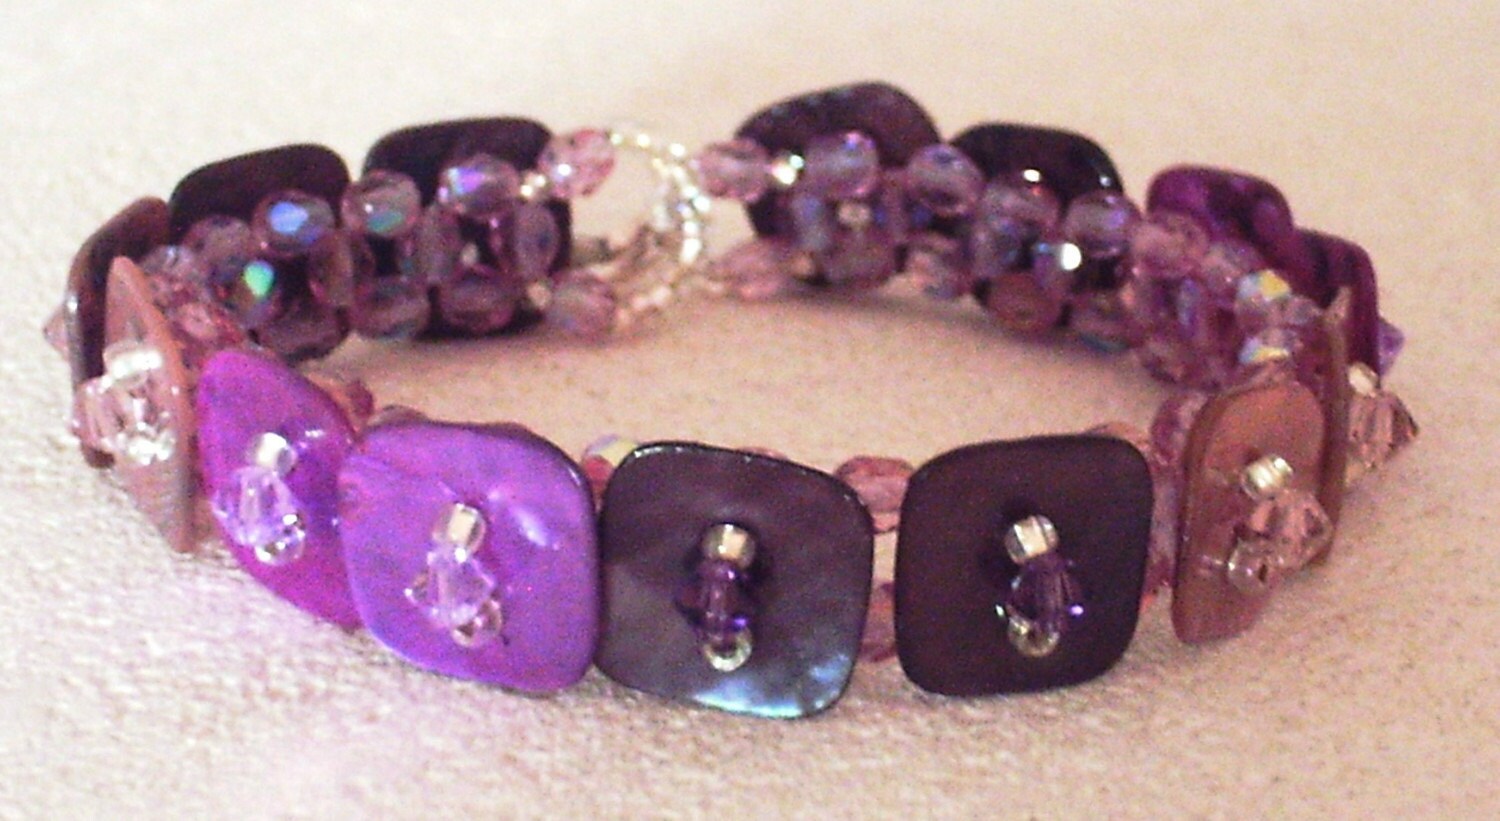
21. I am pretty happy with the way they turned out. Now I just have to get sewing and use them. Hope yours turns out as well. Let me know how you go.


